Week 5- Take #4 Process

Brainstorm of Topic

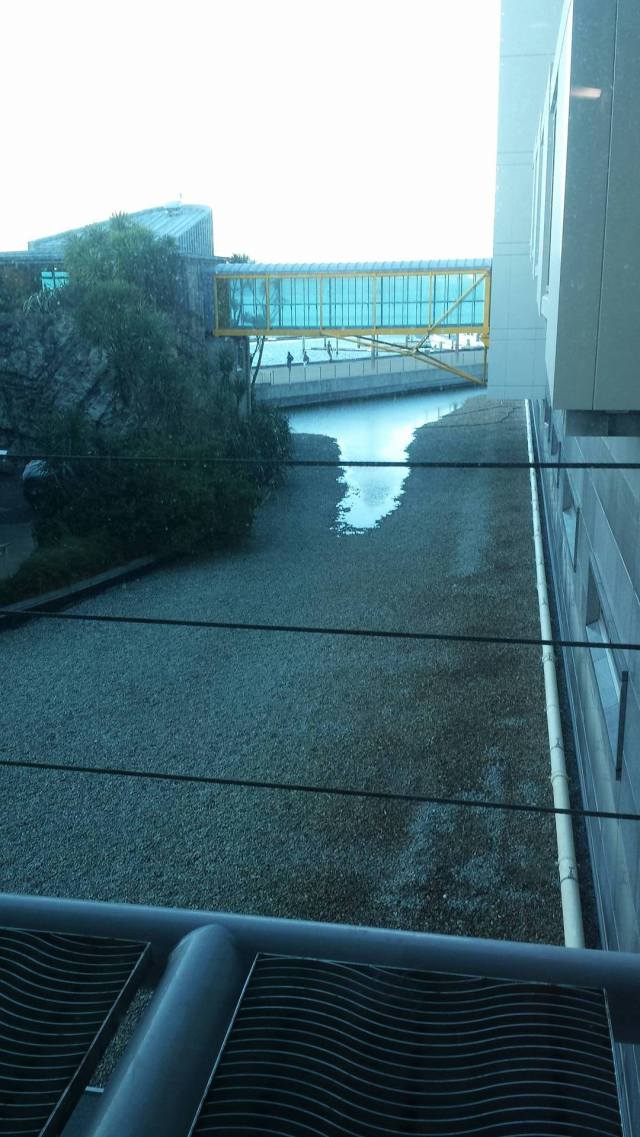
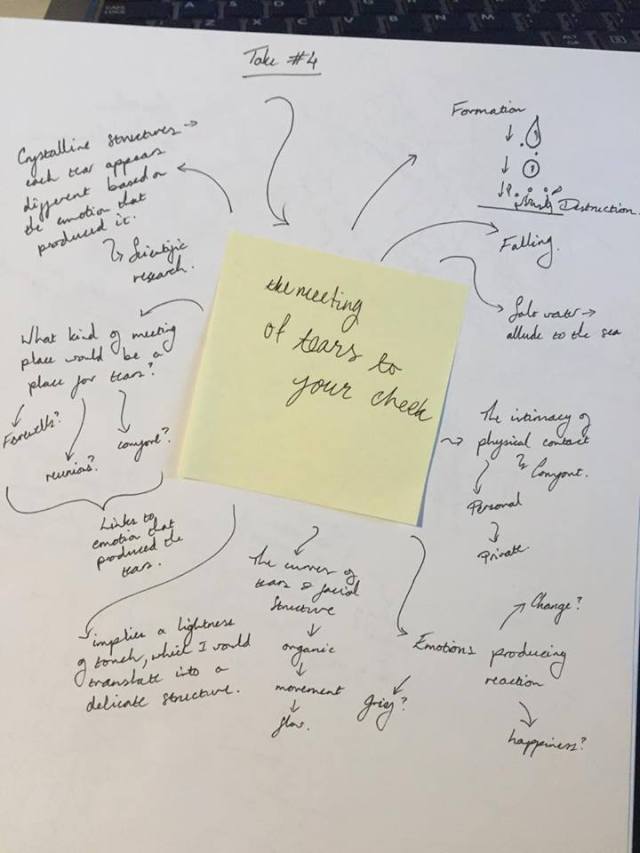
My topic of choice from the post-it notes on the window was ‘the meeting between tears and the cheek.’ I wanted to move away from what I believed to be the obvious route – making a structure based off the emotional connotation of tears, and the kind of site that would be associated with it. Instead, I tried to think of the physical meeting between tears and the cheek, considering the curving and organic shapes, the transition between creation and destruction, the movement involved, and so forth.

14089466_1179182348790904_1262835502_n

Research

I remember once reading about how each tear contains a unique crystalline structure which changes depending on the emotion that produced it – I believe this to be due to a reaction with the hormones which alter the structure of the tear. A photography project by Rose-Lynn Fisher entitled ‘The Topography of Tears’ shows photographs of different types of tears, which I wanted to adopt for my structure on the site.

I want to incorporate the crystalline structures of the different types of tears into sculptural shelters of sorts made from glass around the site. I found it fascinating to think how the violent, explosive nature of tears photographed in this manner emulate the forcefulness of the emotions that produce them. As such, I wanted to use similar shapes for my sculptural elements, reminiscent of a wave breaking to continue the metaphor.

References:

Sketches of Ideas

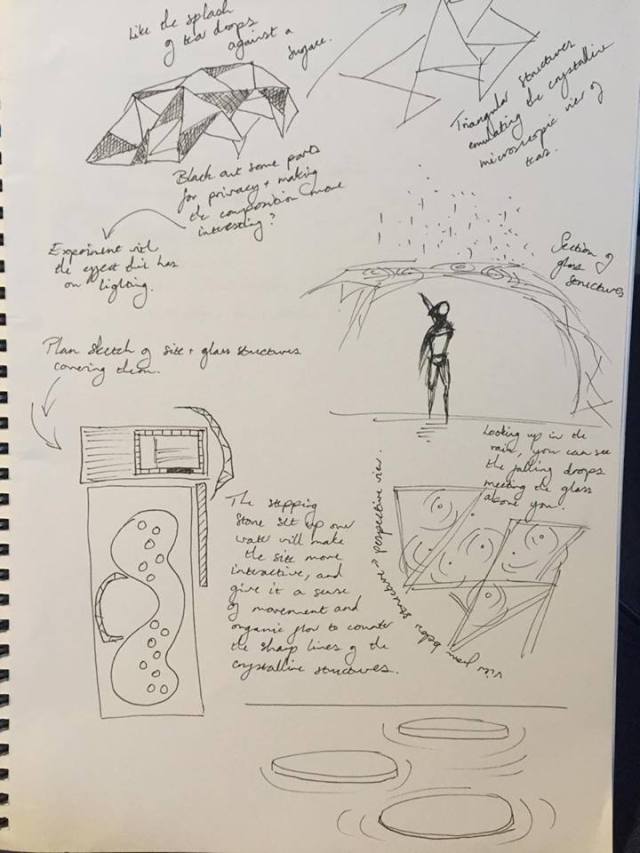
Expanding on my conclusions drawn from research and the thoughts considered in my brainstorm, I experimented with ideas and sketches to consolidate my ideas.

14081268_1179182342124238_138450277_n

14055606_1179182355457570_542037269_n

Sketchup Modeling of Take #4

I was glad that this time I was able to make the final model so similar to the plan drawings. My confidence with SketchUp has really improved over the past few weeks, which has enabled me to realise more complex designs. It was still monstrously irritating to try and create geometry which didn’t follow axes though.

Anyhoo, I’m happy with this, although a little worried that the monochromatic colour scheme and glass is too reminiscent of ice, which wasn’t quite what I was going for. I wanted to put some warmer mood lighting in my rendered images, and possible more ambient setting and colours through Photoshopping the renders.

Rendered Images of Take #4

These are the images I’ll be printing off for peer review on Tuesday.

Week 1- Site Analysis

I went back to the site to complete the site analysis at a time when the lighting could produce better photographs to capture the elements of the environment.

Site & Surroundings

I was quite taken with the washed out quality the light gave the colours, which contrasted quite dramatically with the sharp diagonal shadow which it cast from the structures. It makes it really clear why the wooden ribs on the Freyberg gelato shop make it such an interesting subject – it manipulates the light within the structure.

Details & Textures

The relationship between the faded wood and surrounding concrete was interesting in the similarity of the colours, and how it made the site fit in with both the seascape and the city behind it. I also thought it would be interesting to take a detail sketch of the gravelly stone which made up the waterbreaker, both as a sketch of the positive aspect of the stone, and a rubbing of the negative spaces the texture created.

Video of the Freyberg Site

3D Visual Response

In my video as well as those that I saw on other students’ blogs, the thing that most stood out to me was the battering sound of the wind against the camera microphones. It drowns out much of the visual aspects of the videos to me, so I wanted to create my visual response in reaction to violence of the wind.

Week 1- Field Trip Sketches & Photography

Warm-up for Drawing


13833004_1181747078549941_1036605627_o

Waterfront Outside Te Papa

(Above) Sketch of the scenery in the photograph, en plein air.

(Above) First two photographs depict the area that was drawn as a panorama sketch below. The panorama was not too successful, most probably because I didn’t map out the extremities of the sketch before I started to draw from left to right. This may also have limited what could be done by the person who took over from me on the right half of the sketch.

13840405_1181745918550057_1322810013_o

(Above) Extra photograph. I liked the silhouettes the birds made against the light.

Waterfront Outside The Boathouse

13835856_1181747711883211_1252420544_o 
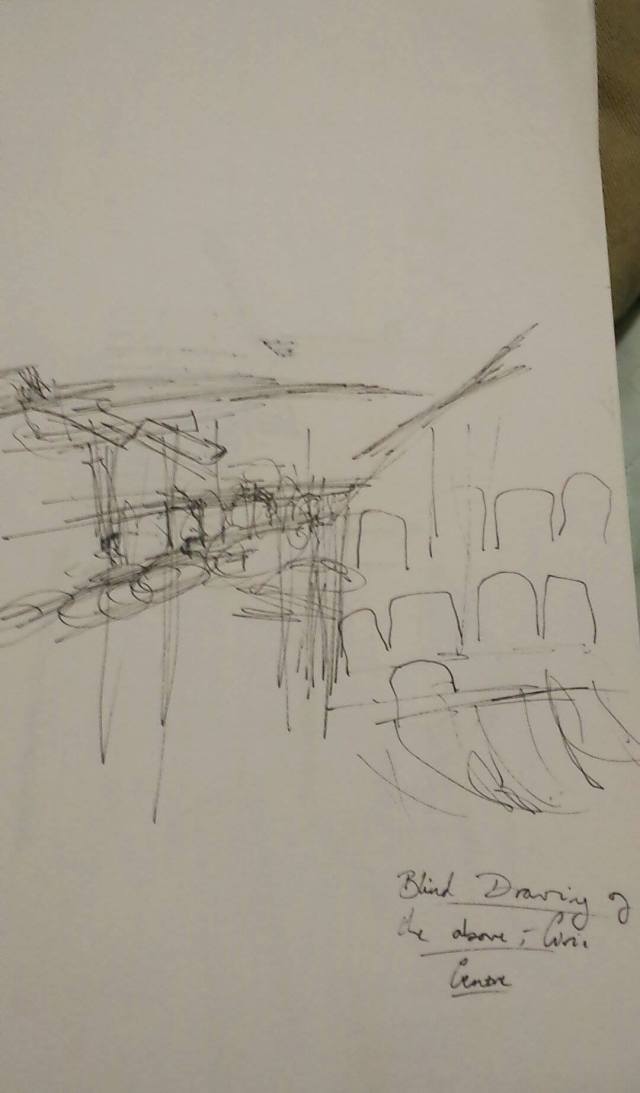
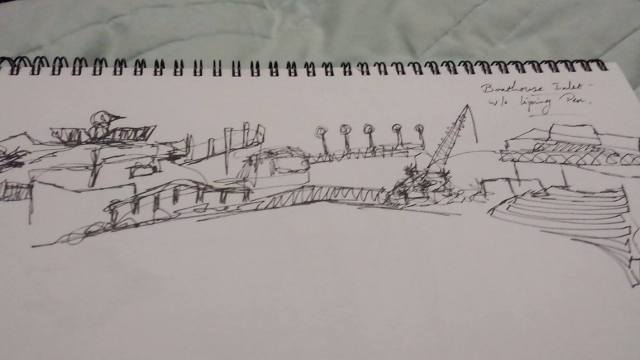
(Above) Sketch made without lifting pen from paper.

13843463_1181747991883183_1100640497_o

(Above) Pencil sketch trying to capture the texture of the water.

Civic Centre

13833514_1181748698549779_2077574232_o

13663602_1181748801883102_1876135293_o13662418_1181748401883142_1398579212_o

Te Papa

(Above) Sketch versus photograph of the interior of Te Papa. This panoramic scene was more effective than my previous one, because I defined the borders of the sketch before adding detail – this shows because I wasn’t able to fully capture the sketched scene in a single frame of photo. Needs work on portraying perspective, and refinement of straight lines.

13728476_1181746078550041_133917819_o

(Above) Photograph of the exterior of Te Papa from the interior. I liked the shape of the walkway and the cool light in the photo.

Walking to the Site

This slideshow requires JavaScript.

The Site – Freyberg Beach Area

I was away from class, and made a point to go back to the site to take photographs and complete the site analysis. However, by the time I arrived, it was too dark to take quality material from the site. The above photographs turned out very grainy and didn’t display the textures and angles of the site which I found interesting. I will return this week to complete the site analysis and work more in-depth.